A Guide on Using Various Methods to Connect to a Wi-Fi on Windows 10
Desktop and laptop owners are likely to use the Wi-Fi connections that are the most convenient option for internet connectivity. However, a lot of times connection issues arise due to not being able to connect correctly.
There are multiple methods to connect to a Wi-Fi network on your Windows 10. Therefore, if one method doesn’t work out for you, you can always switch to another.
Below is a guide on three methods used to connect your Windows 10 to a Wi-Fi network.
Connecting a Wi-Fi Network Using Taskbar
The steps to get connected to a Wi-Fi network using Taskbar on your Windows 10 are:
- Locate the network icon on the taskbar and click on the same.
- Note: If the icon isn’t available, click on the top-arrow icon to expand other options.
- Select the name of the network you want to connect to your Windows 10.
- Mark the checkbox for the ‘Connect Automatically’ option.
- Hit the ‘Connect’ button.
- Enter the password of the internet connection if you’re connecting it for the first time.
- Click on the ‘Next’ option.
You can also schedule to reconnect the internet connection, and the steps for the same are:
- Click on the network icon in the taskbar.
- Disable the Wi-Fi on your Windows 10.
- Click on the drop-down menu and select the time you want it to re-connect. The four available options are: Manually, In one hour, In four hours, and In one day.
Once you set up one of these options, your computer will automatically reconnect to the network connection.
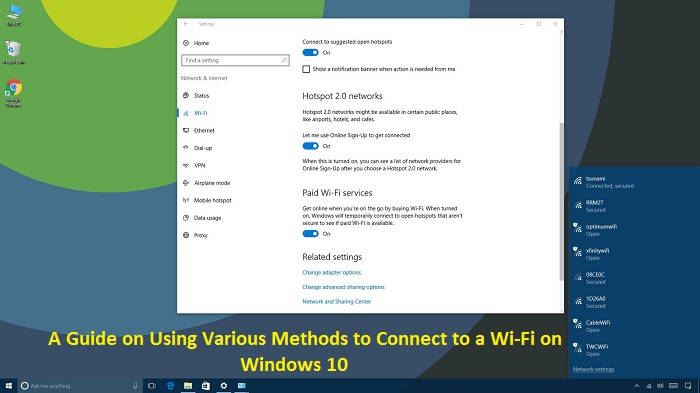
Connecting a Wi-Fi Network Using Settings
The steps to get connected to a Wi-Fi network using the ‘Settings’ app on your Windows 10 are:
- Go to the ‘Settings’ app.
- Select ‘Network & Security’ from the menu.
- Select the ‘Wi-Fi’ option from the left toolbar.
- Click on the ‘Manage known networks’ option.
- Tap on ‘Add a new network.’
- Select your network name.
- Enter the password of the network connection.
- Mark the checkbox for ‘Connect Automatically.’
- Mark the checkbox for ‘Connect even if this network is not broadcasting.’
- Hit the ‘Save’ button.
Connecting a Wi-Fi Network Using the Control Panel
The steps to get connected to a Wi-Fi network using the Control Panel on your Windows 10 are:
- Open the ‘Control Panel’ window.
- Select ‘Network and Internet’ from the menu.
- Select the ‘Network and Sharing Center.’
- Click on the ‘Set up a new connection or network’ option.
- Click on the ‘Manually connect to a wireless network’ option in the next window.
- Hit the ‘Next’ button.
- Enter all the necessary details in the next window, such as select security type, confirm password, etc.
- Mark the checkbox for ‘Start this connection automatically’ and ‘Connect even if the network is not broadcasting.’
- Hit the ‘Next’ button.
- Click on the ‘Close’ option.
This is it! The second and third method to connect to a Wi-Fi connection is a bit of a lengthy process. However, they’ll help as alternatives if you aren’t able to connect to a network connection using the simple method.
Hey there, I’m Oliviya . I’m a web developer living in USA. I am a fan of photography, technology, and design. I’m also interested in arts and web development. You can visit my site with a click on the button above. Also read my Blog, Thebloguk
source: A Guide on Using Various Methods to Connect to a Wi-Fi on Windows 10