How to Access Steam Screenshots?
If you love video games, then you must be familiar with Steam. It is one of the best gaming platforms across the globe. It is packed with a number of features and games.
Those who play online games know how important screenshots can be. Screenshots can be used for bragging rights. Now, many don’t know how to access screenshots on Steam. Read on and learn how you can access the screenshots on Steam.
Access Steam Screenshots through Screenshot Manager
You should follow the instructions given below:
- Hold the Windows and S keys to open the Search section.
- Then input ‘steam’ into it and select the OK button to launch it.
- After opening the Steam app, select the View menu situated at the upper left side of the app screen.
- Select the ‘Screenshots’ option to see each screenshot you have clicked so far.
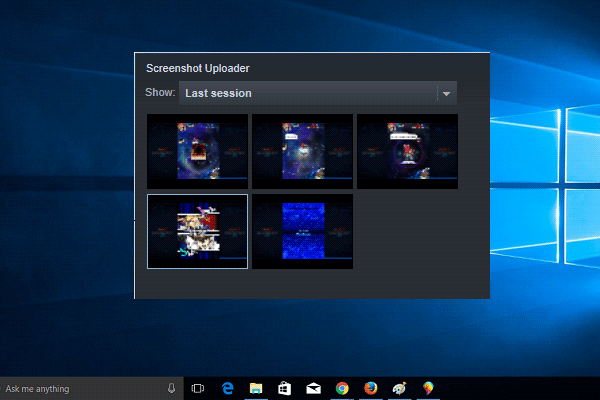
- Once you capture the screenshots, you will see a fresh screen labelled ‘Screenshot uploader.’
- Using the menu beside the ‘Show label’ option to view the screenshots.
Locate the Steam Screenshot Folder Manually
You should follow the instructions given below:
- Hold the Windows and E buttons to invoke the File Explorer on your PC.
- After that, launch the drive where you have installed the Steam.
- Go to the drive and twice click on it.
- You should find the folder of Program Files (x86) and twice click on it to launch it.
- The Program Files (x86) includes data and folders associated with multiple apps installed on the PC.
- Go through the folders list, locate Steam and click on it.
- Once you reach the Steam app folder, launch the subfolder of user data.
- After launching the ‘steam ID folder’ you want to access, move down to this path: Steam_ID > 760 > remote > App_ID > screenshots.
- Now, here you will be able to find all the screenshots.
Modify the Steam Screenshots Destination Folder
You should follow these steps given below:
- Open the Steam on your PC and select the View option.
- Then go to the Settings option.
- Once you reach the Settings screen, select the ‘IN-Game’ option shown on the left side pane.
- Now, reach the right pane and click on the Screenshot folder button.
- Choose the desired folder or make a fresh folder in which you want all the gaming screenshots to be stored.
- Finally, select the OK button to apply the changes.
By following the steps mentioned above you will be able to access all the screenshots you have taken on Steam.
Source :-https://dindependent.com/how-to-access-steam-screenshots/