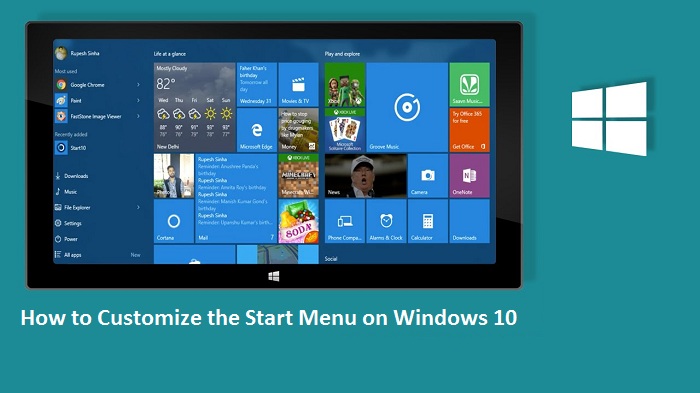
How to Customize the Start Menu on Windows 10
Do you want to customize your Windows 10 “Start” menu? If yes, then this guide is for you because we are going to teach you exactly how you can customize your Windows 10 “Start” menu. So, let’s get started.

Here’s how you can customize your Windows 10 “Start” menu.
How to Change the Size of Start the Menu?
Following are the steps that you can follow to change the size of the “Start” menu:
- Press the Windows key to open the “Start” menu.
- Now tap and pull the top edge of the menu upwards using your mouse to make it taller.
- Next, tap and pull the side edge of the menu outwards using your mouse to make the menu wider.
- You have successfully changed the size of the “Start” menu and made it taller and wider.
How to Add More Tiles on the Start Menu?
Following are the steps that you can follow to add more tiles on the “Start” menu:
- Open the Windows 10 settings app.
- After that, tap on the “Personalization” option.
- Now tap on the “Start” option from the left side menu.
- Finally, enable the “Show more tiles on Start” option using the toggle button near it to add more tiles on the “Start” menu.
How to Enable Full-Screen Mode in Start Menu?
Following are the steps that you can follow to enable full-screen mode in the “Start” menu:
- Open the Windows 10 settings app.
- After that, tap on the “Personalization” option.
- Now tap on the “Start” option from the left side menu.
- Next, enable the “Use Start full screen” option using the toggle button near it.
- You have successfully enabled full-screen mode in the “Start” menu.
How to Change the Color of Start Menu?
Following are the steps that you can follow to change the color of the “Start” menu:
- Open the Windows 10 settings app.
- After that, tap on the “Personalization” option.
- Now tap on the “colors” option from the left side menu.
- Next, select the “custom” option from the drop-down menu under the “Choose your color” section.
- Now select the “Dark” option under “Choose your default Windows mode” section.
- After that, select the “Start, taskbar and action center” option under “Show accent color on the following surfaces” section.
- Now select your desired color for the “Start” menu and its elements from the “Windows colors” section.
- You have successfully changed the color of your “Start” menu.
How to Customize System Folders in the Start Menu?
Following are the steps that you can follow to customize or add/remove folders in the “Start” menu:
- Open the Windows 10 settings app.
- After that, tap on the “Personalization” option.
- Now tap on the “Start” option from the left side menu.
- Next, tap on the “Choose which folders appear in Start” option.
- Now add or remove your desired folders from the “Start” menu using the toggle button.
- You have successfully customized system folders in the “Start” menu.
How to Remove Suggestions From the Start Menu?
Following are the steps that you can follow to remove suggestions from the “Start” menu:
- Open the Windows 10 settings app.
- After that, tap on the “Personalization” option.
- Now tap on the “Start” option from the left side menu.
- Next, disable the “Show suggestions occasionally in Start” option using the toggle button near it.
- You have successfully removed suggestions from the “Start” menu.
How to Add Recently Added Apps in the Start Menu?
Following are the steps that you can follow to show/add recently added apps in the “Start” menu:
- Open the Windows 10 settings app.
- After that, tap on the “Personalization” option.
- Now tap on the “Start” option from the left side menu.
- Finally, enable the “Show recently added apps” option using the toggle button near it to see/ add your recently added apps in the “Start” menu.
How to Add Most Used Apps in the Start Menu?
Following are the steps that you can follow to add your most-used apps in the “Start” menu:
- Open the Windows 10 settings app.
- After that, tap on the “Personalization” option.
- Now tap on the “Start” option from the left side menu.
- Finally, enable the “Show most used apps” option using the toggle button near it to add/see your most-used apps in the “Start” menu.
Conclusion
Windows 10 is a marvelous OS that provides lots of customization features to its users to customize it according to their needs and preferences. So, make sure you customize it according to your needs and preferences to give it your personal touch and get the most out of it.
Hey there, I’m Oliviya . I write blog posts, I’m a web developer living in USA. I am a fan of photography, technology, and design. I’m also interested in arts and Graphic Design. Also Read my Blog, adailyo.com