How to Enable and Disable Chrome Browser Notification?
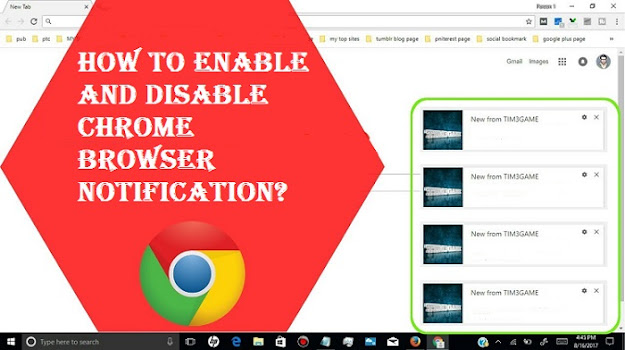
Notification plays a significant role in our day to day life for keeping us updated with recent news, regular updates, and necessary data such as weather forecasts, message alerts, etc. It enhances productivity by providing us multiple alerts.
If you are using Chromebook and have enabled notification setups, it will make your workflow a balanced and manageable schedule. Sometimes it gets annoying when it distracts our mind from a serious task. There, you have the option to disable it. You can enable it in future whenever you feel the necessity. You can easily manage notification settings on any device, including the Chromebook.
Managing Notifications on Chrome OS
There are various ways to manage notifications on your Chromebook in a relatively straightforward manner. We will start with the Chrome browser as the majority of users use this platform to make the task done.
Here is how you can search for the Chrome notifications with ease:
- First and foremost, hit the menu tab located at the uppermost section of your browser. This option will appear as a three-dotted icon.
- Then, tap the Settings option.
- Press the Privacy and Security tab.
- Then, hit the continue tab to proceed.
- Now, click the Site Settings option.
- Next, tap the option “View Permissions and Data Stored Across Sites.” This option will display all the respective sites in which data are linked to your account. Alternatively, you may visit the link: “chrome://settings_content_all.”
Managing Notification on Chromebook in Quick Way
- First of all, tap the bottom-right edge of the screen, and after some time, a prompt will appear related to the Settings menu.
- Then, hit the pull-drop arrow icon situated just after the icon of Notification.
- After that, tap the Notification icon to enable or disable as per your desire.
- Press the mark boxes for plugins, apps, or services that you want to receive alerts/notifications from. However, the user may change the settings at any point in time.
- Now, toggle the slide bar “Do Not Disturb” to turn off notifications temporarily.
Managing Chromebook Notifications in Lengthy Way
- First of all, hit the bottom right side edge of the display where a prompt will appear related to the quick settings menu.
- Then, hit the Settings icon to expand the menu related to system settings.
- Tap the Apps section.
- Press the option “Manage your apps.”
- Tap the app that you can customize notification setups.
- Now, move the slider either left or right to turn on or off as per your wish.
Note: Once you can make these Chromebook notifications working, that seems pesky at first sight.
Enabling or Disabling Notifications from all Sites
- Launch the Google Chrome application on your device. This process also works on smartphones or tablets.
- Now, navigate towards the right-hand side of your address pane and then hit the More tab.
- Then, press the Settings icon there.
- Press the Site Settings option and then click on the Notifications tab.
- Now, go to the top panel and turn on or off the feature as per your need.
Enabling or Disabling Notifications from Few Websites
- Expand the Chrome app located on your device. No matter if it is a tablet or smartphone.
- Then, visit the site from where you don’t want to receive notifications.
- Now, move to the right-hand side section and of the address pane and hit the More tab.
- Then, press the “Info” icon. This option will be available in the form of “i.”
- After that, press the Site Settings options and click the Notification button.
- In case you are unable to view the Settings option, the same website can transmit notifications to your device.
- Finally, choose the option between Block and Allow as per the requirement.
Turning Pop-Outs to Off
- Launch the Google Chrome app on your device.
- Then, go to the extreme right side of the address section and hit the More button.
- Now, you have to select the option Settings and hit on it.
- Press on the Site Settings tab.
- Hit the Pop-ups and redirects tab.
- Next, turn the redirects and pop-outs off.