Cabinet Door Restoration Grand Junction – How to Revamp Your Old Cabinetry on a Budget
 Did you know that the average kitchen renovation costs about? If you’re trying to work with a smaller budget and want to give your home’s old cabinet’s new life, there are some simple and cost-effective ways you can update them without breaking the bank. Here are some quick and easy ideas to revamp cabinet door restoration grand junction doors around your Grand Junction home on a budget.
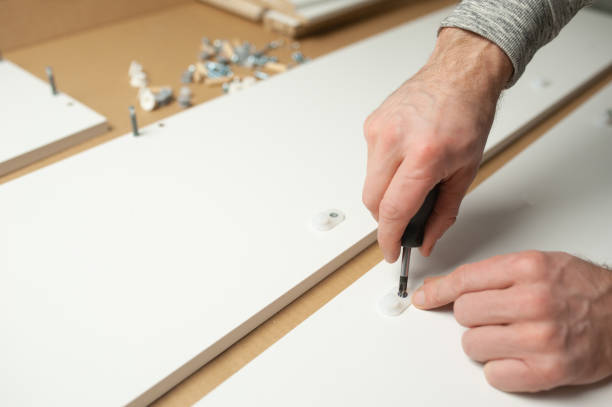
Remove old hardware
The first step in any cabinet door restoration project is removing the old hardware. Depending on how badly worn it is and what you are looking for, this can be as simple as unscrewing the hinges with a screwdriver. If the hinges are not removable, you will need to either use a drill or saw to cut the screws and pull out the screws. Once all of the old hardware has been removed, you will want to sand down any exposed surfaces that were not protected by paint or varnish. Finally, take some time and wipe down all of your cabinets with some soapy water and a damp cloth. This will remove any lingering dirt or dust from your cabinets before painting them.
Clean off any dirt or grime
If you want to maintain the original look of your cabinets, but they’ve lost their luster over time, cabinet door restoration Grand Junction can be a great way to get your cabinetry looking new again. With just a few supplies and some elbow grease, you can revitalize your cabinets without any major renovation work. You’ll need: Simply mix one part TSP with two parts water in your bucket and pour it into the top of the cabinet. Let it sit for about 15 minutes before scrubbing with the brush. Be sure not to use too much pressure when scrubbing as this could lead to scratches in the finish.
Choose your paint or stain color
One of the most important steps of restoring your cabinet doors is choosing the right paint or stain. If you are looking for a more traditional look, then go with oil-based enamel which will give you that high gloss finish and deep colors. If, however, you are looking for something less time-consuming, then you might be interested in an acrylic latex paint which will dry faster and give you a lighter color but with less sheen. Acrylic latex paints work best when painting light colored cabinets. For darker cabinets, use an oil-based paint or acrylic latex with tinting base to get that perfect shade!
Paint or stain your doors
Painting or staining your old cabinet refinishing Grand Junction doors is one of the easiest ways to give them new life. It doesn’t require as much work as refinishing, but it can still be time consuming. Before you start, measure the size and shape of the door and create a plan for where you want it painted or stained. Depending on your project, you might need more than one can of paint or stain. Most importantly, make sure that you allow enough time for the paint or stain to dry completely before use!
Add new hardware
Many people are unable to afford new cabinets for their kitchen, but it can be easy and affordable to revamp your old cabinet installation grand junction with some simple tricks. One of the most popular ways is through cabinet door restoration. This process includes stripping off all the layers of varnish and/or paint from the surface, sanding it down, and then applying a coat of finish or wax. The process can be done by yourself in about an hour using some basic tools, or you can hire someone who has experience in this type of project. There are many different finishes that you can choose from when restoring your doors, including lacquer, lacquer with glazing, oil and urethane varnishes.
Reattach doors to cabinets
- Remove the hinges from the door.
- Place the doors face down and remove the door knob, screws and any other hardware.
- Cut a piece of 3/4 plywood slightly larger than both doors (one side should be cut at an angle).
- Apply wood glue to one side of the board, place it against one of the cabinet doors and clamp it in place until the glue sets up fully.